
How to use an LED video light kit photography? It sounds like a question best left to the experts. But in reality, it’s something that everyone can and should learn how to do.
After all, you can take your photography skills up a notch, or ten, with the right tools and a bit of practice. Here are eight tips on how to get started using LED video lights for photography today!
1. Understand Your Surroundings

It’s foolish to think you just need to bring your LED video light panel and you’ve solved every lighting problem that might occur. In reality, there is so much more that goes into creating perfect lighting conditions than just hooking up some bright lights and pointing them towards the subject.
Before you even begin to set up your lights, take a good look around the location. Note where the windows are and how much natural light is coming in. If there are any light fixtures already in place, make a note of those too. All of these factors will play a role in how you ultimately set up your LED video light kit and how it performs.
2. Understand The LED Lights
Do you know the difference between the RGB LED video light and bi color led video light? If you don’t, you still have a long way to go before you fully grasp the effect of LED lighting on your photography.
Before you start using LED lights for photography, it’s important that you understand the various types of lights available and what each one can do. This will help you make better choices about which lights to use in which situations.
3. Keep It Simple

The worst thing you can do is show up to the set with five different kits, all kinds of colored gels and whatnot, and think that’s automatically going to make your photos better. That’s not true. It’s actually the opposite of true if you don’t mind us saying it.
In reality, you’ll want to keep things simple. Work with one or two lights at most and use gels only when absolutely necessary. The more complicated your setup, the greater the chance of something going wrong. Not to mention, it’s just going to take longer to get everything set up.
4. Invest In Premium Lights
Now that we’ve got the basics down, it’s time for you to think about some high-quality, premium lights. Don’t know where to look for those? Don’t worry, we do!
For example, COLBOR offers LED video lights for studio and home recording. Those lights are more than capable of satisfying your every need, no matter if you’re a professional or an amateur photographer or videographer.
But, let’s explain why you need premium equipment. You need the top-of-the-line stuff because these lights not only last longer but also produce better quality light. They’re more precise and accurate, they’re easy to control, they’re energy-efficient, and so on.
All in all, the best LED video light will give you the best results – as simple as that.
5. Experiment With Placement
There’s three-point lighting, there’s butterfly lighting, there’s Rembrandt lighting… But do you know which one is best for the specific situation you’re in? Well, if you’ve been taking photos for a while, you probably do, but if you’re just getting started – this probably doesn’t mean a lot to you and you have to learn through practice.
You see, it all boils down to experimentation. The only way to find out what works and what doesn’t is to try different things out. So, don’t be afraid to experiment with the placement of your lights. See how it affects the overall look of the photo and take notes of what you like and don’t like. That way, you’ll figure it all out.
6. Use A Diffuser Or A Softbox
If you really want your photos to look professional, you need to invest in a diffuser or a softbox. These two accessories will help you achieve that beautiful, soft light that’s perfect for all sorts of photography, from portraits to product shots.
A diffuser is placed over the light source and it essentially spreads out the light, making it softer. A softbox, on the other hand, is an umbrella or box-like enclosure that goes around the light. It has a diffuser on one end and it’s great for when you need more focused light.
Both of these accessories are relatively cheap and they’re definitely worth the investment if you’re serious about photography.
7. Use Gels For Color
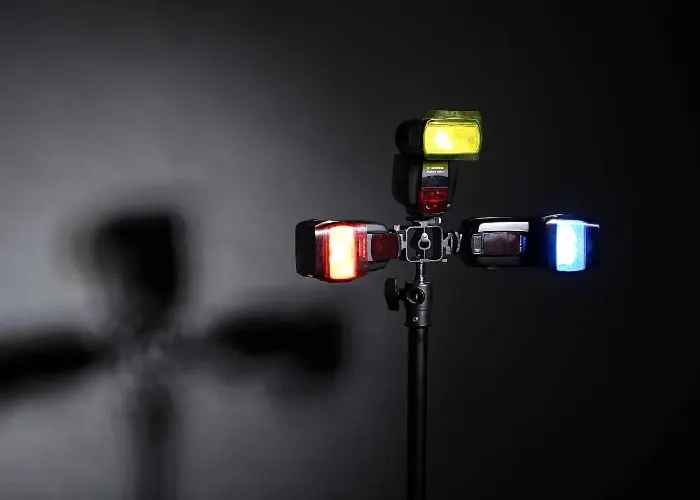
Gels are essentially colored transparent sheets of plastic that you put over the light source in order to change the color of the light. They’re very popular in photography and they can be used for all sorts of different effects.
For example, if you want to add a bit of warmth to the photo, you would use an orange gel. Or, if you want to create a moody atmosphere, you could use a blue gel. The possibilities are endless and it’s really up to you to experiment and see what looks good.
Just keep in mind that gels will affect the light output of your lights, so you might need to adjust the brightness accordingly. Also, keep in mind that this can also be done in post, relatively easily, so don’t go too crazy with gels.
8. Bounce The Light
One of the best ways to achieve soft, beautiful light is to bounce it off of something. That’s right, you don’t always have to point the light directly at your subject. In fact, some would say that most of the time, it’s better if you don’t.
Instead, point the LED video light for camera towards a wall or a ceiling and let it bounce off of that. That way, you’ll get softer light that’s more flattering and less harsh. Just keep in mind that the color of the surface you’re bouncing the light off of will affect the color of the light, so keep that in mind when you’re choosing your surfaces.
Conclusion

By following these simple tips, you’ll be able to take your photography game to new heights – figuratively speaking. So what are you waiting for? Give LED video lights for photography a try and see what happens!